You Will Need:
- Small Thin Hair Ties- I used 11. You may need a few more or less. You can make the headband in whatever color you want. I used pastel colors for spring. :)
The process of making the headband is super simple. However, it may seem a little complicated at first. Keep trying, and I'm sure you'll get it!
- First, set one hair tie aside for the last step. Then, organize the remaining hair ties in the order that you like.
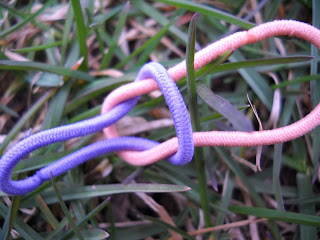
- Next, take two of the hair ties and loop one around the other.
- Take the end of the hair tie that you looped through, in this case it would be the top side of the purple hair tie, and loop it through itself.
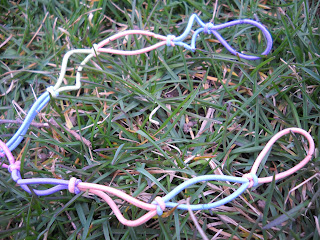
- Repeat this process with the remaining hair ties, adding on to either end of the one you just made. You may want to check every so often to see if it is long enough to fit around your head.
- Once you have created a long enough chain, wrap it around your head with the two loose ends held together at the back of your head. Using the hair tie that you laid aside at the beginning, tie the two loose ends together by wrapping the hair tie around them. For this step, you could also use one of those small clear elastics.
Voilà! Your headband is complete! If you don't like the order you put the hair ties in, simply untie the chain and reorganize it. :)
---------------
If you make this headband, make sure you send me a picture on Twitter (@oliviaroseblogs)!
---------------
Comment down below with any requests or suggestions for my blog. I would love to hear your input.
---------------
Make sure to click on 'Join this Site' so you will be notified whenever I post a new blogpost. All you need is a google account.
---------------
xox, oliviarose
---------------
Make sure to click on 'Join this Site' so you will be notified whenever I post a new blogpost. All you need is a google account.
---------------
xox, oliviarose


No comments:
Post a Comment